
Floodlight security cameras combine two essential outdoor protection tools into one hardwired fixture: motion-activated illumination and video surveillance. They’ve become increasingly popular among homeowners looking to eliminate dark corners around garages, driveways, and entryways without running separate circuits for lights and cameras. Unlike battery-powered cameras that struggle in low light or standalone floodlights that only scare off intruders temporarily, these hybrid devices provide both deterrent and documentation. Understanding how they work, where to mount them, and what features actually matter can save homeowners from buyer’s remorse and unnecessary service calls.
Table of Contents
ToggleKey Takeaways
- A floodlight security camera combines motion-activated LED lighting and hardwired video surveillance in one fixture, eliminating the need for separate power lines while providing both deterrent and documented evidence.
- Floodlight cameras capture full-color night vision footage when lights activate, significantly improving identification of faces, vehicle colors, and package details compared to standard infrared-only cameras.
- AI-powered motion detection with object classification reduces false alarms by 70% or more by distinguishing between people, vehicles, animals, and packages instead of triggering on all movement.
- Mount your floodlight security camera at 9 to 10 feet high on garage doors, driveways, and rear entry points, angled downward 15–20 degrees to capture faces and upper bodies clearly.
- Hardwiring eliminates battery recharging and simplifies installation, but requires basic electrical knowledge—turn off breaker power, use a voltage tester, and match wire colors carefully to avoid shock and fire hazards.
What Is a Floodlight Security Camera?
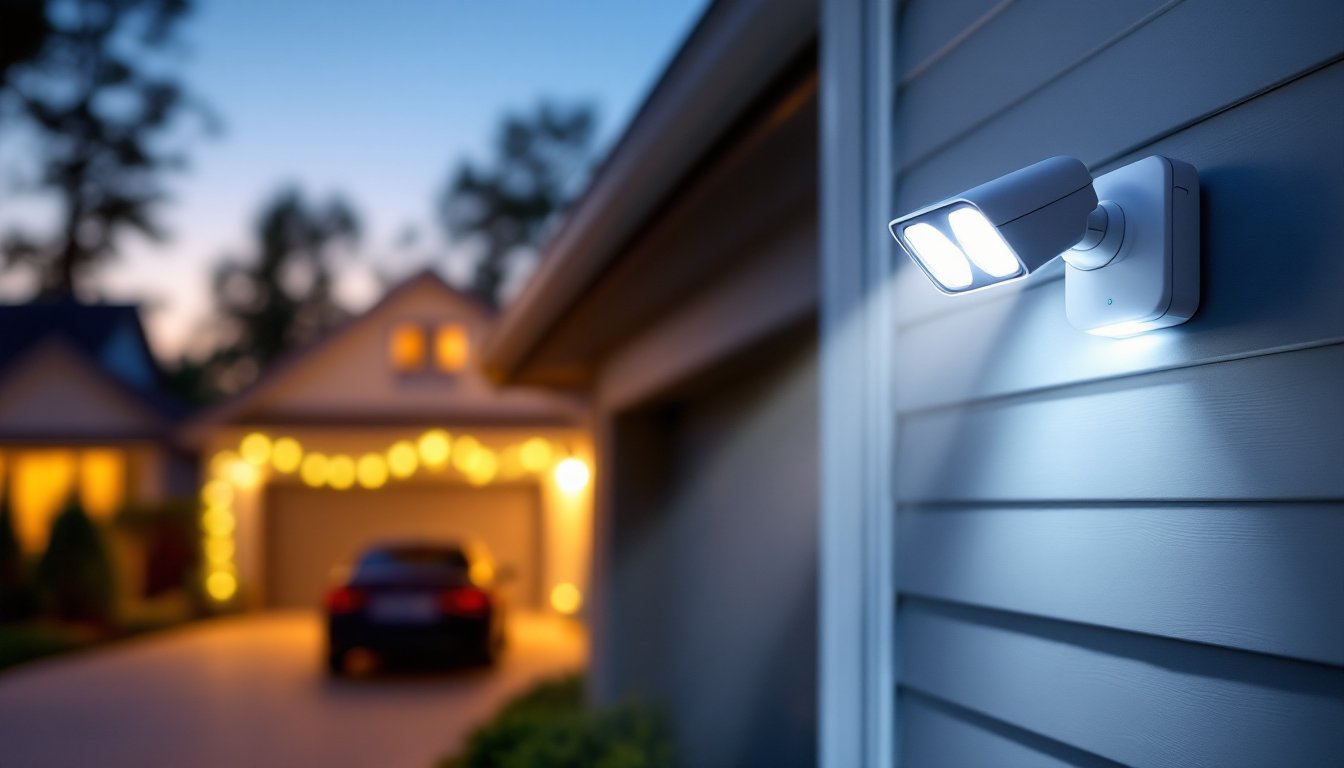
A floodlight security camera is a hardwired outdoor fixture that integrates high-lumen LED floodlights with a weatherproof security camera in a single housing. Unlike standard security cameras that rely solely on infrared night vision, these devices trigger bright white light when motion is detected, typically between 2,000 and 3,000 lumens per fixture.
Most units replace existing outdoor light boxes and connect to standard 120V household wiring. The camera component records video continuously or on motion triggers, while the floodlights can operate independently or in sync with camera activation. Many models include two-way audio, siren alarms, and cloud or local storage options.
These aren’t battery-powered solutions. Hardwiring eliminates the need for frequent recharging but requires basic electrical knowledge or a licensed electrician if you’re uncomfortable working with live voltage. Most jurisdictions don’t require permits for replacing an existing light fixture with a floodlight camera, but adding a new circuit does, check local codes before starting.
Key Benefits of Installing a Floodlight Security Camera
The primary advantage is dual deterrence: visible lighting discourages prowlers before they approach, and recorded footage provides evidence if they proceed anyway. Studies show that well-lit entry points reduce property crime rates significantly compared to unlit areas.
Floodlight cameras eliminate the need to run separate power lines for a camera and a motion light. This simplifies installation and reduces clutter, one junction box, one fixture, one weather seal to maintain. For homes with existing outdoor light boxes near vulnerable entry points, it’s often a straightforward swap.
Another benefit is color night vision. Standard infrared cameras produce black-and-white footage in darkness, which can make identifying clothing, vehicle colors, or package details difficult. When the floodlights activate, the camera captures full-color video even at midnight, improving the usability of recorded clips for insurance claims or police reports.
Finally, smart integration matters. Most 2026 models connect to home automation platforms, allowing homeowners to trigger lights remotely, receive smartphone alerts, and review footage without subscriptions (though cloud storage often costs extra). The convenience of checking a driveway camera before answering the door or turning on exterior lights from bed adds practical everyday value beyond security.
Top Features to Look for When Choosing a Floodlight Security Camera
Video Quality and Night Vision
Resolution matters, but so does field of view. A 1080p camera is the baseline for identifying faces and license plates within 20 feet: 2K or 4K models provide sharper detail at greater distances but require more storage and bandwidth. Look for a horizontal field of view between 130° and 160°, narrower angles miss activity at doorsteps, while ultra-wide lenses distort edges.
HDR (high dynamic range) imaging helps balance bright floodlights against dark backgrounds, preventing washed-out video. Without HDR, footage often shows overexposed foregrounds or pitch-black shadows with no middle ground.
For night vision, confirm whether the camera relies solely on infrared LEDs or uses the floodlights for color recording. Some models offer both: IR mode for passive monitoring (lights off) and full-color mode when motion triggers the floods. This flexibility reduces light pollution while maintaining deterrent capability when needed.
Motion Detection and Smart Alerts
Basic motion sensors trigger on anything that moves, leaves, passing cars, stray cats, creating alert fatigue. Look for AI-powered detection zones and object classification. The ability to distinguish between people, vehicles, animals, and packages reduces false alarms by 70% or more in typical suburban settings.
Adjustable sensitivity and detection zones are essential. A camera aimed at a driveway shouldn’t trigger every time a neighbor walks their dog on the sidewalk. The best systems let users draw custom zones on a smartphone app, so only movement within defined areas (like a porch or gate) sends alerts.
Some advanced models offer facial recognition or package detection, though these features often require paid subscriptions. Weigh the monthly cost against actual need, most homeowners get sufficient value from person/vehicle detection without recurring fees. When evaluating options, resources like outdoor security camera comparisons highlight how detection accuracy varies across brands and price points.
Best Locations to Install Your Floodlight Security Camera
The ideal mounting height is 9 to 10 feet, high enough to prevent tampering but low enough for facial detail. Mounting too high (above 12 feet) captures the tops of heads rather than faces, reducing identification accuracy.
Garage side doors and driveway entries are prime locations. These areas see the most foot traffic and package deliveries but are often poorly lit. A floodlight camera here covers vehicle approaches and provides clear footage of anyone approaching the main entry.
Backyard access points and side gates are secondary priorities. Intruders frequently test rear entries first, assuming they’re less visible from the street. A camera covering the backyard gate or patio door fills this blind spot. Just ensure Wi-Fi signal reaches the location, exterior walls and distance degrade connectivity quickly.
Avoid aiming cameras directly at neighbors’ windows or yards. Most jurisdictions allow recording of your own property and public areas (sidewalks, streets), but capturing a neighbor’s living room or bedroom can invite complaints or legal issues. Angle cameras to cover entry points and driveways without panning into adjacent properties.
For multi-story homes, second-floor eaves above the front door provide excellent coverage of porch deliveries and visitor approaches. Ensure the junction box can support the camera’s weight (typically 3 to 5 pounds for floodlight models) and that ladder access is safe during installation and maintenance.
DIY Installation Tips for Floodlight Security Cameras
Safety first: Turn off power at the breaker panel before removing the existing light fixture. Use a non-contact voltage tester to confirm the wires are dead, don’t trust the breaker label alone. Wear safety glasses and work gloves when handling sharp mounting brackets and drilling into siding or stucco.
Most floodlight cameras mount to a standard outdoor electrical box. If the existing box is plastic, consider upgrading to a metal box rated for ceiling fan support (typically 50+ pounds). Floodlight cameras weigh less, but the added rigidity prevents sagging and vibration.
Wiring is straightforward: Match black (hot) to black, white (neutral) to white, and green or bare copper (ground) to the ground screw. Many models include wire nuts and weatherproof connectors. If the existing fixture used different wire colors or lacks a ground, consult the NEC or hire an electrician, improper grounding creates shock and fire hazards.
Before securing the camera, test the Wi-Fi connection. Many installations fail because the signal doesn’t reach the mounting location. If connectivity is weak, consider a Wi-Fi extender or mesh system. Some homeowners run Ethernet cable through exterior walls or soffits for hardwired network connections, which improves reliability and reduces latency.
Angle the camera slightly downward, about 15 to 20 degrees from horizontal. This captures faces and upper bodies rather than foreheads and hats. Most brackets allow tilt and swivel adjustments: make these tweaks while viewing the live feed on a smartphone.
After mounting, apply a bead of silicone caulk around the base plate to seal gaps between the fixture and siding. This prevents water infiltration and insect nesting. Check that the camera’s weatherproof rating matches the exposure, IP65 handles rain and dust, but coastal or high-wind areas may require IP66 or IP67.
Finally, configure motion zones and sensitivity in the app before declaring the job done. Walk through the detection area at different speeds and distances to confirm alerts trigger appropriately. Adjust floodlight brightness if needed, some neighbors appreciate dimmer settings, and lower lumens extend LED lifespan.
If the existing electrical box is in poor shape, the circuit lacks a ground wire, or you’re adding a new circuit, hire a licensed electrician. Floodlight cameras draw modest current (typically under 1 amp), but improper wiring can cause tripped breakers, flickering, or worse. Permits are rarely required for fixture replacement, but adding new wiring typically needs inspection, check local code enforcement to avoid fines or insurance complications.