
When a GE dishwasher stops responding to button presses or displays error codes at random, the culprit is often a failed control board. This small circuit board acts as the brain of the appliance, managing cycles, water temperature, and drain timing. While replacing it sounds intimidating, it’s a straightforward repair that most homeowners can tackle in under an hour with basic tools. This guide walks through the entire process, from diagnosing a faulty board to installing the replacement and getting the dishwasher running again.
Table of Contents
ToggleKey Takeaways
- A GE dishwasher control board replacement is a straightforward DIY repair that most homeowners can complete in under an hour with basic tools and can save $150–$300 compared to professional service.
- Unresponsive buttons, random error codes, mid-cycle shutdowns, and display flickering are key signs that your GE dishwasher control board needs replacement rather than other components.
- Always disconnect power at the circuit breaker and shut off the water supply before attempting control board replacement to prevent electrical shock and flooding.
- Take photos of all wire connections before removal and match connector shapes carefully during reinstallation, as a single poor connection causes erratic behavior or non-function.
- If issues persist after replacement, perform a hard reset by holding the Start/Reset button for 5 seconds or disconnecting power for 2 minutes to clear residual memory and resolve error codes.
- Verify the replacement board part number matches your exact GE model, as boards differ between models even within the same series, and OEM parts ensure compatibility while aftermarket options cost 30–50% less.
Signs Your GE Dishwasher Control Board Needs Replacement
A failing control board creates distinct symptoms that set it apart from other dishwasher issues. Recognizing these signs saves time chasing down the wrong component.
Unresponsive controls are the clearest indicator. If buttons don’t register presses, the touchpad lights up but nothing happens, or only certain buttons work intermittently, the board’s logic circuitry is likely damaged. Water damage from leaks or steam is a common cause.
Random error codes that appear without explanation or cycle through multiple codes point to board malfunction. GE dishwashers use alphanumeric codes like “C6” or “i20” to signal specific faults. When these codes flash inconsistently or don’t match actual symptoms, like a “drain” error when the unit drains fine, the board misreads sensor data.
Mid-cycle shutdowns or failure to start cycles even though proper door latching suggest the board isn’t completing its programming sequence. The dishwasher may fill with water then stop, or hum briefly without engaging the motor.
Display flickering or going completely dark while the unit still has power indicates failing solder joints or capacitor issues on the board itself. This differs from a blown thermal fuse, which kills all power.
Before replacing the board, verify the door latch and door switch work correctly, a faulty switch mimics control board failure. Also check for tripped breakers and test the outlet with a multimeter to confirm 120V AC at the connection. If voltage is present and mechanical parts function, the control board is the next logical replacement.
What You’ll Need: Tools and Parts for the Job
Gather everything before starting to avoid mid-project hardware store runs.
Tools:
- Screwdriver set (Torx T15 and T20 for most GE models, plus Phillips #2)
- Nut driver set or socket wrench (typically 1/4″ hex head)
- Multimeter (optional but useful for verifying power is off)
- Needle-nose pliers for wire harness connectors
- Flashlight or headlamp for interior panel visibility
- Camera or smartphone to photograph wire connections before removal
Parts:
- Replacement control board specific to the GE model number (found on the door jamb or interior tub wall). GE and third-party boards are available: OEM parts ensure exact compatibility, while aftermarket options cost 30–50% less but may require firmware updates. Verify the part number matches exactly, boards differ between models even within the same series.
- Wire connectors or electrical tape if existing connectors are brittle
Safety Gear:
- Work gloves to protect against sharp metal edges inside the door panel
- Safety glasses when working overhead or removing screws
Optional:
- Towels to protect flooring and catch residual water
- Putty knife to gently pry door panel clips if screws alone don’t release it
Most GE dishwasher control boards run $80–$220 depending on the model and whether it’s OEM or aftermarket. Prices fluctuate with parts availability and regional supplier markups. Ordering directly from appliance parts dealers often beats big-box store pricing.
Step-by-Step: How to Replace Your GE Dishwasher Control Board
This repair requires careful handling of electrical connections and door components. Take your time and double-check each step.
Safety First: Disconnecting Power and Water
Electrical shock is the primary hazard during appliance repair. Turn off the dishwasher circuit breaker at the main panel, don’t rely on the appliance switch alone. Flip the breaker and use a multimeter to test the dishwasher’s junction box or outlet for zero voltage.
Shut off the water supply by turning the valve under the sink clockwise until it stops. This prevents flooding if hoses are accidentally loosened. Run a quick drain cycle (if the unit still functions) or bail out standing water with a cup and towel.
Open the dishwasher door fully and remove the bottom dish rack to access interior components. Place towels on the floor in front of the unit to catch any residual water from hoses or the sump.
Removing the Door Panel and Accessing the Control Board
The control board sits behind the door’s front panel on most GE models. Accessing it means disassembling the inner door.
-
Locate and remove the perimeter screws holding the inner door panel to the outer door. These are typically Torx T15 or T20 screws spaced every 4–6 inches around the door edge. Some models hide screws under the door handle or control panel trim, check the sides and top.
-
Carefully separate the inner panel from the outer door. The panel may have plastic clips plus to screws. Use a putty knife wrapped in a cloth to gently pry at clip locations if the panel resists. Do not force it, missed screws are common.
-
Support the inner panel as it separates. The control board, wiring harness, and sometimes insulation are attached to this panel. Lower it slowly to avoid straining wire connections.
-
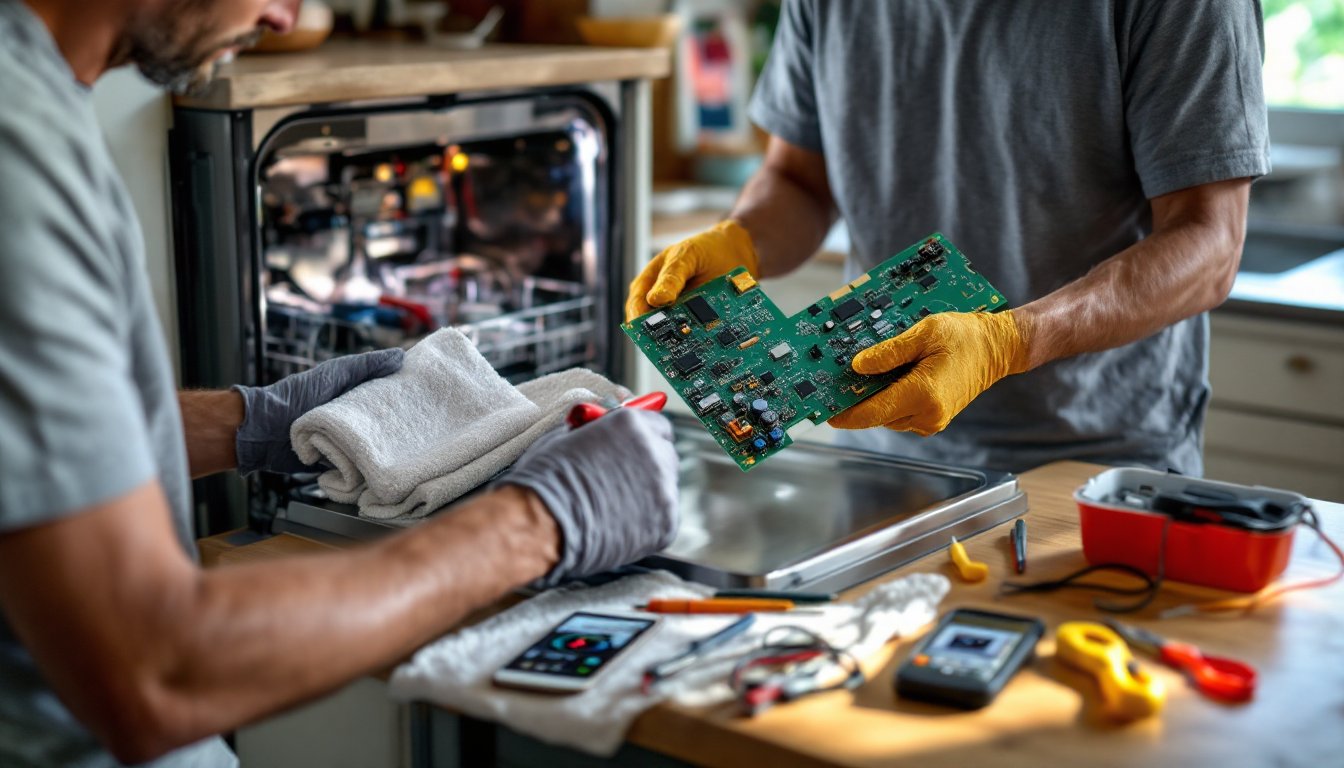
Photograph all wire connections before touching anything. The control board connects to multiple harnesses, door latch, touchpad, main power, and sensor wires. Each connector is keyed to prevent backwards installation, but colors and positions vary by model. Having visual reference prevents confusion during reassembly.
-
Disconnect the wire harnesses from the old control board. Press the tab or locking clip on each connector and pull straight out. Some connectors are tight: use needle-nose pliers to grip the connector body (not the wires) and wiggle gently.
-
Remove the mounting screws securing the control board to the door panel. These are usually Phillips screws or hex-head bolts. Lift the old board free, keeping it as a reference for connector positions.
Installing the New Control Board
Installation reverses the removal process with attention to proper connections.
-
Position the new control board on the door panel, aligning the mounting holes. Some boards include a mounting bracket: attach the bracket to the panel first, then clip the board into the bracket.
-
Secure the board with the original mounting screws. Tighten snugly but don’t over-torque, plastic bosses can crack.
-
Reconnect each wire harness to the matching port on the new board. Refer to your photos and match connector shapes. Press each connector until it clicks into place. Gently tug each connection to confirm it’s seated.
-
Inspect all connections for loose wires or bent pins. A single poor connection causes erratic behavior or non-function.
-
Reattach the inner door panel to the outer door. Align the top edge first, then work around the perimeter, ensuring clips engage before driving screws. Work in a star pattern (opposite sides) to distribute pressure evenly and avoid warping the panel.
-
Replace all screws in their original locations. Missing screws can cause door misalignment or rattling during operation.
-
Restore power and water by turning the breaker and supply valve back on. The dishwasher may take 10–15 seconds to initialize after power restoration.
Many DIYers find replacing appliance circuit boards less intimidating once they see the straightforward plug-and-play nature of the harness connectors.
Troubleshooting Tips After Replacement
Once the new board is installed, run a test cycle to confirm proper operation. If issues persist, a few common problems have simple fixes.
Dishwasher won’t power on: Double-check the breaker is on and test the outlet for voltage. Verify all wire harnesses are fully seated, a partially connected power harness prevents startup. Confirm the door latch engages completely: dishwashers won’t start with a faulty latch signal.
Error codes immediately after power-on: Some GE models require a hard reset after board replacement. Press and hold the Start/Reset button for 5 seconds, or disconnect power for 2 minutes to clear residual memory. If codes persist, verify the sensor connections (thermistor, turbidity sensor) are secure.
Touchpad unresponsive but display works: The ribbon cable connecting the touchpad to the control board may be seated incorrectly. Power down, open the door panel, and reseat the ribbon cable connector. These cables are delicate: avoid bending or creasing them.
Cycles run but performance is off: The new board may need a calibration cycle. Consult the GE service manual for the specific model, some boards self-calibrate during the first wash, others require entering a diagnostic mode. Calibration ensures the board correctly interprets water level sensors and cycle timings.
Water leaks from the door: Over-tightened door panel screws can compress the gasket unevenly. Loosen screws slightly and check for uniform gasket compression around the perimeter. Resources like The Kitchn often cover maintenance tips for kitchen appliances that help extend component life.
Burned smell or tripped breaker: Immediately shut off power. A short circuit indicates a wiring error or defective board. Re-examine all connections for pinched wires or reversed polarity. If the board itself smells burned, it’s DOA and needs replacement under warranty.
Most control board replacements solve the original symptoms immediately. If problems continue after confirming proper installation, other components, motor control board, door latch assembly, or wiring harness, may also need attention. At that point, consulting a licensed appliance technician ensures thorough diagnosis without throwing more parts at the problem. Many step-by-step repair guides for appliances emphasize methodical testing to isolate failures before ordering parts.
Control board replacement is one of the higher-value DIY repairs, saving $150–$300 in service call and labor fees compared to professional replacement. With attention to safety and careful reassembly, most homeowners find it a manageable weekend fix that extends dishwasher life by several years.