
When a Frigidaire dishwasher starts acting up, leaving dishes dirty, leaking water, or refusing to drain, it’s often a single failed component causing the problem. But finding the exact part that needs replacement can feel like navigating a maze without a map. That’s where a parts diagram becomes essential. These detailed schematics show every component in the appliance, from the door latch to the drain pump, with part numbers that make ordering replacements straightforward. Whether the spray arm is clogged or the door gasket is torn, understanding how to read and use a parts diagram saves time, money, and the hassle of guessing which part went wrong.
Table of Contents
ToggleKey Takeaways
- A Frigidaire dishwasher parts diagram is an exploded-view blueprint that shows every replaceable component with part numbers, eliminating confusion when ordering replacements and saving time on repairs.
- Locate your model number on the metal tag inside the door frame—typically starting with ‘FDB,’ ‘FGID,’ ‘FFCD,’ or ‘FBD’—then search the official Frigidaire website or third-party appliance retailers to access model-specific parts diagrams.
- Common replacement parts include the door latch assembly, heating element, door gasket, drain pump, spray arms, and float switch, each of which can be diagnosed using the parts diagram to trace water flow and mechanical connections.
- Always disconnect power before opening panels and consult the parts diagram to identify mounting points, connector locations, and anchor points before starting any repair or disassembly.
- Parts diagrams serve as diagnostic tools beyond ordering—use them to trace the path of water and power through components like the water inlet valve, float switch, and control board when troubleshooting why your dishwasher isn’t filling or draining properly.
- Print or save the relevant diagram section, mark removed parts with tape and numbers, and verify the diagram’s revision date when ordering to ensure components are compatible with your specific model.
Understanding Your Frigidaire Dishwasher Parts Diagram
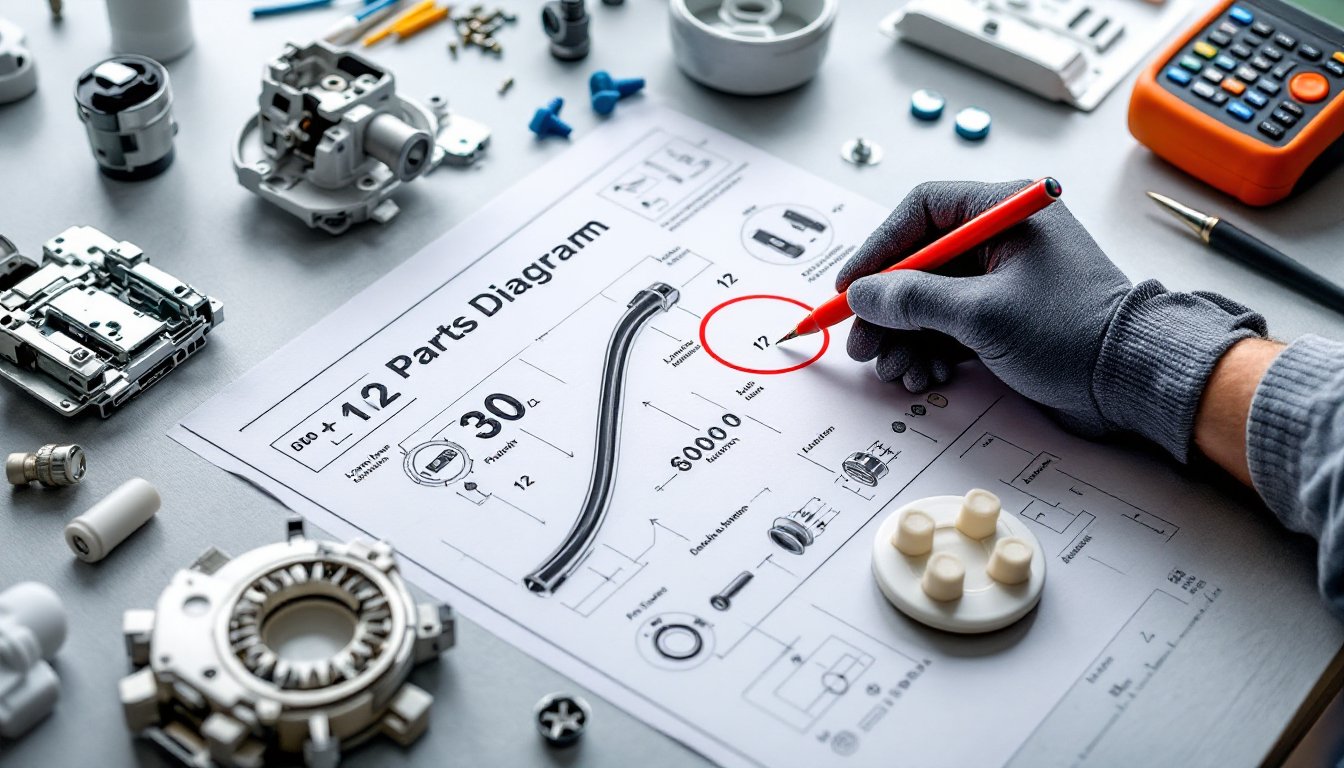
A Frigidaire dishwasher parts diagram is an exploded-view illustration showing every replaceable component in the appliance. Think of it as a blueprint that identifies each part’s location, relationship to surrounding pieces, and its specific part number. These diagrams break the dishwasher into logical sections: the tub assembly, door components, pump and motor assembly, water inlet system, and control panel.
Each part is numbered with a callout that corresponds to a list showing the manufacturer’s part number, description, and sometimes the price. For example, a diagram might show item #12 pointing to the lower spray arm, with the part number 154568003 listed alongside it. This precision eliminates confusion when ordering, there’s no guessing whether a replacement fits the specific model.
Most diagrams use a combination of top-down, side, and cutaway views to show parts that wouldn’t be visible in a single perspective. The control board appears in one view, while the heating element and float switch show up in a separate tub cross-section. Color coding or shading sometimes highlights assemblies that are sold as complete units versus individual replaceable parts.
Understanding the diagram’s layout is the first step. Frigidaire diagrams typically organize parts by assembly group rather than alphabetically, so the door section includes everything from the hinge to the detergent dispenser, even though those parts serve different functions. This grouping makes sense when repairing, if the door isn’t sealing properly, all related components are shown together for easier diagnosis.
Essential Components in a Frigidaire Dishwasher
Door and Latch Assembly Parts
The door assembly holds more than just the outer panel. The door latch (also called the door strike) engages with the door catch on the tub to create a watertight seal and trigger the safety switch that allows the cycle to start. When this latch wears out, the dishwasher won’t run, even if everything else works fine.
The door gasket (or door seal) runs along the perimeter of the tub opening, typically made from flexible rubber or vinyl that compresses when the door closes. Over time, detergent residue and hard water deposits make the gasket brittle, leading to leaks. The diagram shows exactly where the gasket seats into the tub channel, critical information when installing a replacement.
Inside the door, the detergent dispenser has a spring-loaded lid that releases soap at the appropriate cycle point. The rinse aid dispenser sits adjacent to it, controlled by a small adjustable valve. Both dispensers have seals and actuator mechanisms that can fail, and the parts diagram breaks down each component separately so replacements don’t require buying the entire door assembly.
The door spring or cable assembly counterbalances the door’s weight, allowing it to open smoothly without slamming down. These springs are under tension, so replacement requires care. The diagram indicates anchor points on both the door and the tub side, reference those before disconnecting anything.
Spray Arms and Water Circulation Components
The lower spray arm sits at the bottom of the tub, typically securing to a hub with a single cap nut or clip. It has multiple jets angled to create rotational force as water sprays out. Hard water deposits can clog these jets, but sometimes the arm itself cracks or the bearing wears out, causing it to wobble or stop rotating entirely.
The mid-level spray arm (present in many Frigidaire models) attaches to the bottom of the upper rack. It increases coverage for heavily soiled middle-rack items. The parts diagram shows the spray arm support and the water feed tube that supplies it, both can crack or become clogged.
The upper spray arm mounts to the top of the tub or the underside of the top rack. Some Frigidaire models use a wash tower assembly that delivers water upward to the top rack. The diagram distinguishes between models with fixed upper arms and those with rotating assemblies.
Water reaches the spray arms through the circulation pump, which sits at the base of the tub. The pump motor drives an impeller that pushes water through the pump housing. The diagram shows the pump seal and impeller as separate items, if the pump is noisy or losing pressure, these are the likely culprits. The chopper blade (in models equipped with a food disposer) sits in the same assembly and can jam on hard debris.
How to Locate Your Model Number and Find the Right Diagram
The model number is the gateway to the correct parts diagram. On most Frigidaire dishwashers, it’s located on a metal tag or sticker inside the door frame, open the door and look along the top edge or the left/right sides of the tub opening. The model number typically starts with “FDB,” “FGID,” “FFCD,” or “FBD” followed by additional digits.
Some older models have the tag inside the tub itself, along the bottom edge near the door. If the sticker has worn off, check the original purchase documents or the user manual, the model number appears on the cover page.
Once the model number is in hand, head to Frigidaire’s official parts website or a third-party appliance parts retailer. Enter the model number in the search field, and the site will pull up model-specific diagrams. These diagrams are usually organized by section: door, tub, pump assembly, and controls.
Third-party parts sites often provide additional features, such as filtering by symptom (“not draining,” “not cleaning,” “leaking”) to narrow down which diagram section to focus on. Some sites overlay interactive hotspots on the diagrams, clicking a part highlights its callout number and displays pricing and availability immediately.
If the exact model number doesn’t pull up results, try entering just the base model (the first few characters before any suffix letters). Frigidaire often uses the same core parts across several variations of a model, differing only in color or control panel style. Many DIY repair tutorials also provide model cross-references for common parts.
For discontinued models, aftermarket part suppliers may still stock components, but diagrams might be harder to locate. In those cases, forums and repair guides often have user-uploaded schematics or part number lists that fill the gap.
Common Frigidaire Dishwasher Parts That Need Replacement
The door latch assembly is one of the most frequently replaced parts. It’s a mechanical component that cycles thousands of times, and the plastic striker or metal catch eventually wears out. Symptoms include the door not staying closed or the dishwasher failing to start even when latched. Replacement is straightforward, remove a few screws from the door panel to access the latch.
The heating element sits at the bottom of the tub and heats water during the wash cycle and air during the dry cycle. If dishes come out cold or wet, the element may have failed. Testing requires a multimeter set to resistance (ohms), a functioning element should read between 10 and 50 ohms. The parts diagram shows mounting bracket locations: replacement involves disconnecting wire terminals and unscrewing the bracket.
Door gaskets develop tears, cracks, or permanent compression over time, leading to leaks. Replacing a gasket doesn’t require tools in most cases, the old one pulls out of the retaining channel, and the new one presses in by hand. But, getting it seated evenly around corners requires patience. Some technicians recommend warming the gasket with a hairdryer to make it more pliable.
The drain pump removes wastewater at the end of each cycle. If water pools at the bottom of the tub after a cycle, the pump may be clogged or burned out. The parts diagram shows the pump’s location and how it connects to the drain hose and check valve. Replacing the pump involves disconnecting hoses (expect some water spillage) and removing mounting screws. Always unplug the dishwasher or shut off the circuit breaker before working on electrical components.
Spray arms crack or lose their mounting clips, especially the lower arm, which bears the brunt of heavy dish loads. Replacement is simple, twist off the old arm and snap or screw on the new one. Check the diagram to identify whether the model uses a screw-on cap nut or a push-fit clip.
The float switch prevents overfilling by cutting off water when the float rises to a set level. If the dishwasher overflows or doesn’t fill at all, the float may be stuck or the switch may have failed. The diagram shows the float assembly’s location in the tub floor. Cleaning around the float often resolves sticking issues: if not, the switch underneath may need replacement.
Control boards (both the user interface board and the main control board) can fail due to power surges or moisture infiltration. Diagnosing a board failure often requires ruling out other issues first, since symptoms can mimic problems with the door latch, pump, or heating element. The parts diagram identifies which board controls which functions, knowing this helps pinpoint whether to replace the UI board (buttons and display) or the main board (cycle logic and component control).
Using Parts Diagrams for DIY Repairs and Maintenance
Parts diagrams aren’t just for ordering components, they’re diagnostic tools. When troubleshooting, pull up the diagram and trace the path of water, power, or mechanical action. For example, if the dishwasher isn’t filling, check the water inlet valve, the float switch, the control board, and the door latch (which must engage to allow the cycle to start). The diagram shows how these parts connect, helping narrow down the failure point.
Before starting a repair, print or save the relevant diagram section. Mark the parts being removed with tape and numbering, especially for multi-step disassembies like door panel removal. This prevents mix-ups during reassembly. Many hands-on repair guides recommend taking photos at each step, but a labeled diagram serves as the master reference if photos aren’t clear.
Safety first: always disconnect power before opening any panel or removing parts. For dishwashers, this means unplugging the unit or switching off the breaker. If working on the water inlet valve or any plumbing connection, shut off the water supply at the valve under the sink. Keep a shallow pan and towels handy, residual water in hoses and the tub will spill during disassembly.
When ordering parts, verify not just the part number but also the diagram’s revision date. Frigidaire occasionally updates components mid-production run, and a part from an earlier revision might have a slightly different mounting or connector. Cross-reference the part number from the diagram with the supplier’s listing to confirm compatibility.
Routine maintenance benefits from diagram knowledge, too. Knowing where the filter assembly sits (usually under the lower spray arm) and how it disassembles makes monthly cleaning faster. The diagram shows if the filter has a fine mesh screen, a coarse screen, and a cylindrical filter, each piece needs individual attention to remove trapped food particles and grease.
For rebuilds or deep cleaning, the parts diagram reveals access points. Removing the lower access panel (if the model has one) exposes the pump, motor, and inlet valve. The diagram indicates which screws hold the panel and where clips or tabs might hide. Understanding the layout prevents accidental damage to hidden components.
DIYers comfortable with moderate complexity can tackle most dishwasher repairs using a parts diagram, a basic socket set, screwdrivers, and a multimeter for electrical testing. Tasks like replacing a door latch, spray arm, gasket, or heating element fall within the skillset of someone who’s swapped out a light fixture or replaced a faucet. But, control board diagnostics and pump motor replacement demand more experience, if uncertain, a professional can use the same parts diagram to provide an accurate estimate before starting work.